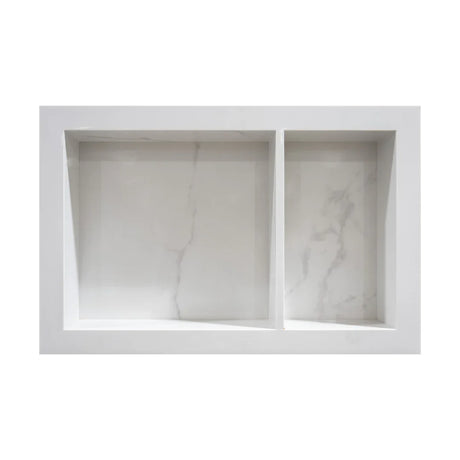
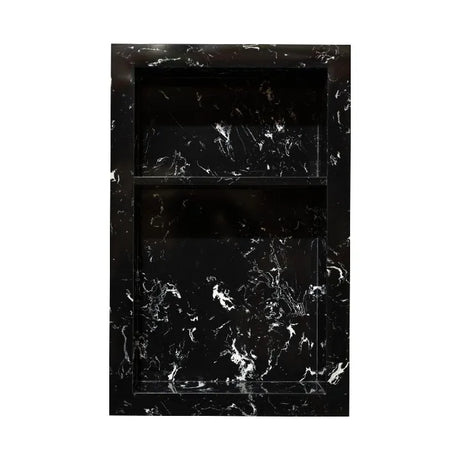
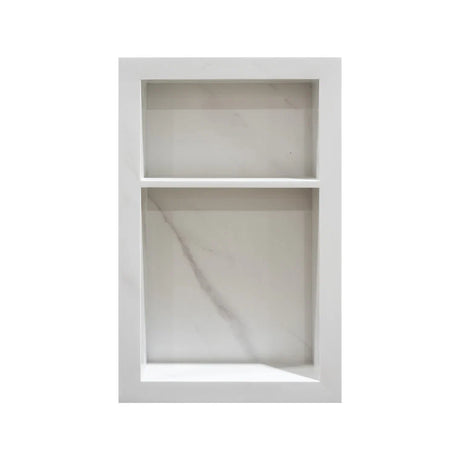
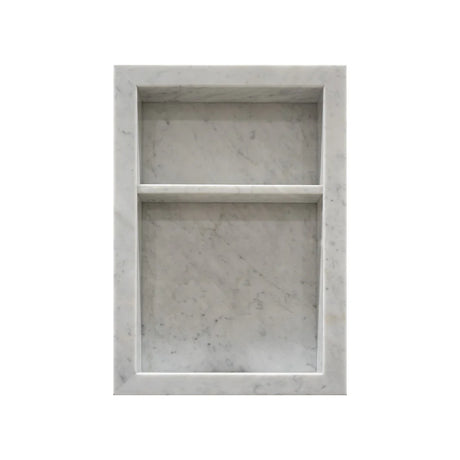
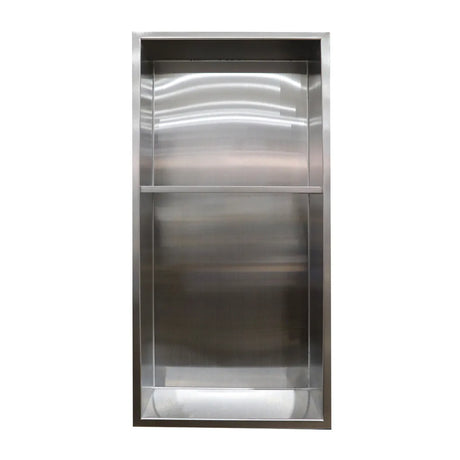
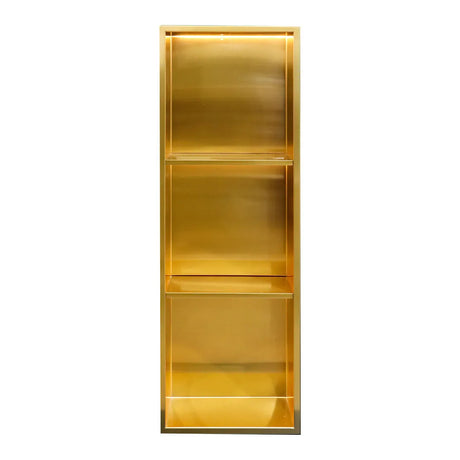
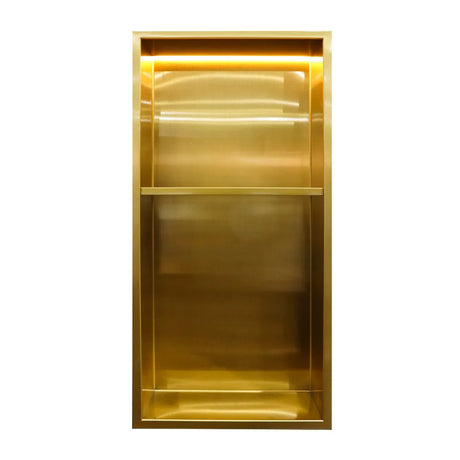
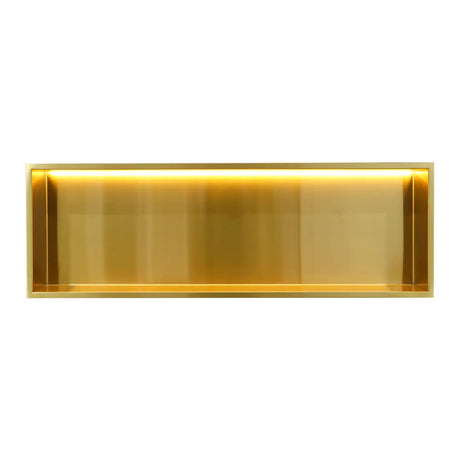
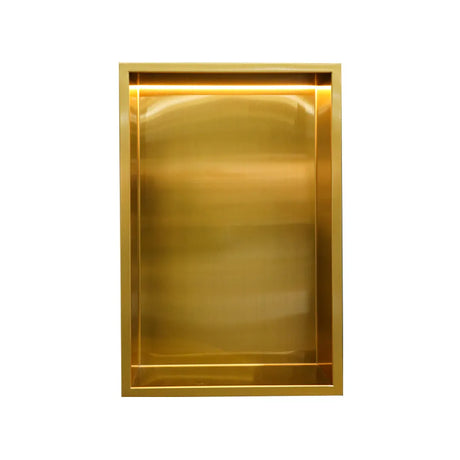
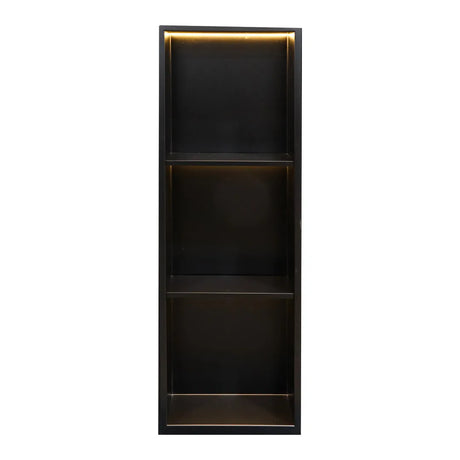
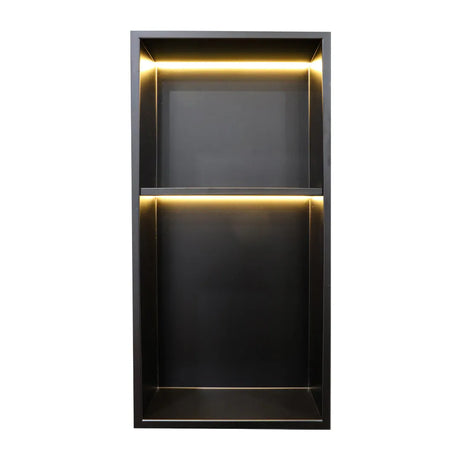
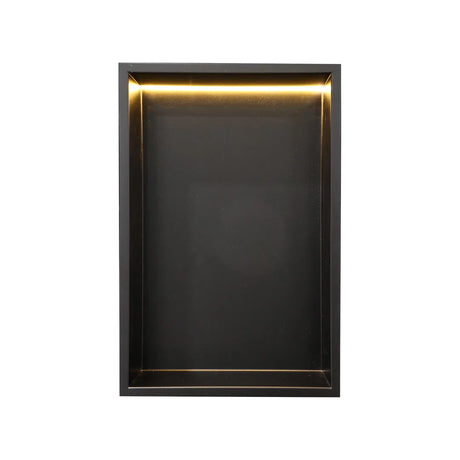
Bottles balanced on the tub edge, a caddy sliding down the showerhead: a niche fixes both. A shower niche is a recessed shelf set into a shower wall and tiled to match, so everything you reach for has a home without cluttering the floor or the rim. This guide covers the types, sizes, placement, waterproofing, and installation, so you can plan one that fits your shower and your tile. To see ready-to-tile and stainless options next to the tile that will frame them, visit our Markham or Etobicoke showroom.
What Is a Shower Niche?
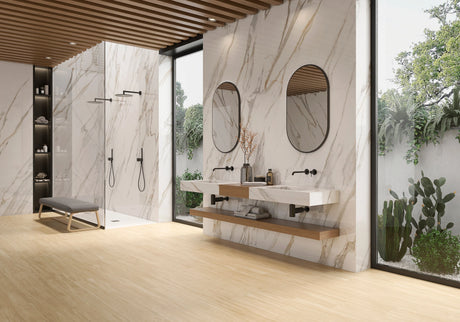
A shower niche is a recessed shelf built into a shower wall to hold shampoo, soap, and toiletries. Rather than sitting on the surface like a caddy, it sets back into the wall cavity between the studs, so nothing sticks out into the shower. Tiled to match the surrounding wall, it looks like part of the design instead of an add-on. Some people call it a recessed shower shelf or a shower nook. They mean the same thing.
Benefits of a Built-In Shower Niche
The main payoff is storage that stays out of the way. A built-in niche keeps bottles off the floor and the tub rim, which makes the shower easier to clean and safer underfoot. Because it recesses into the wall, it frees up elbow room in a small shower. It also looks deliberate: a tiled niche finishes a shower in a way a hanging caddy never does, and it is the kind of detail buyers notice.
Shower Niche vs. Shower Shelf & Caddy
If you can open the wall, a recessed niche beats a surface shelf or a hanging caddy. A caddy hooks over the showerhead or wedges in a corner, and it can rust or slip. A surface-mounted shelf bolts onto finished tile and breaks up the wall. A niche does neither, with one catch: it has to be planned before the tile goes up, or cut in later during a retrofit. For a finished shower you are not re-tiling, a good surface-mounted shelf is the practical choice.
Types of Shower Niches
Niches fall into two camps: ready-to-tile inserts you finish with your own tile, and stainless steel units that arrive finished. Corner niches are a third option for tight showers.
Ready-to-Tile (Tileable) Niches
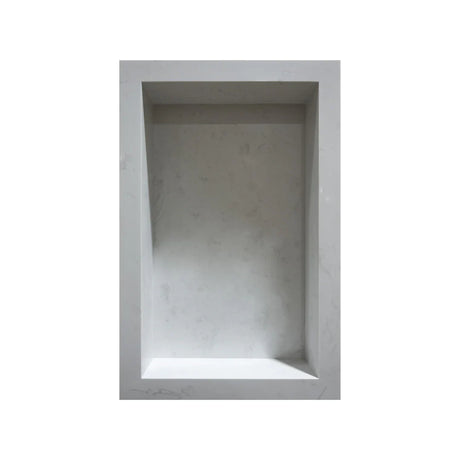
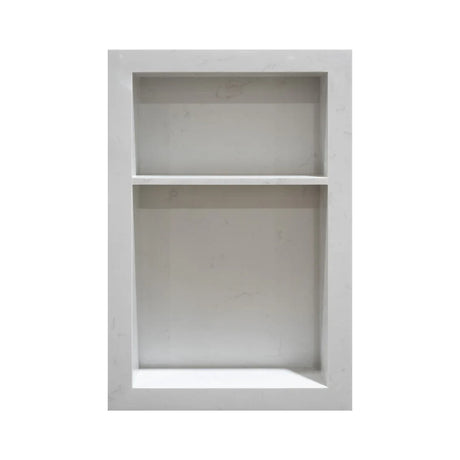
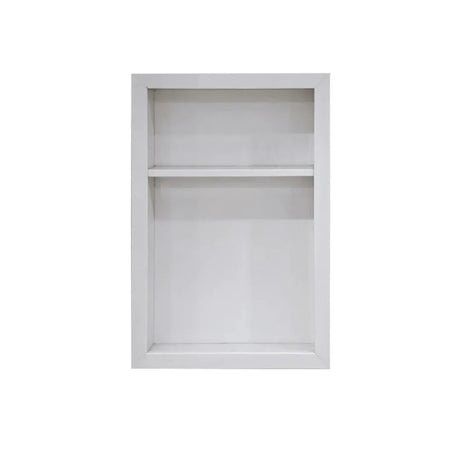
A ready-to-tile niche is a waterproof shell you set into the wall and cover with the same tile as the surround, so it blends into the wall. Most are lightweight foam or a cement-board-faced box sized to fit standard framing.
Preformed Foam Niches
Preformed foam niches weigh almost nothing and cut with a utility knife, so they are quick to fit between studs. The foam is waterproof through its core, which means no wood to rot if water ever gets behind the tile.
Waterproof by Design
Because the shell is closed-cell foam rather than wood or drywall, a preformed niche is waterproof before you tile it. You still seal the flange to the wall membrane, but the box itself will not absorb water.
Ready-to-Tile Advantages
The advantage is continuity. You carry your field tile or a mosaic straight into the niche, and it matches the wall exactly. You also choose the size and finish rather than accepting a fixed metal box.
Stainless Steel & Metal Niches
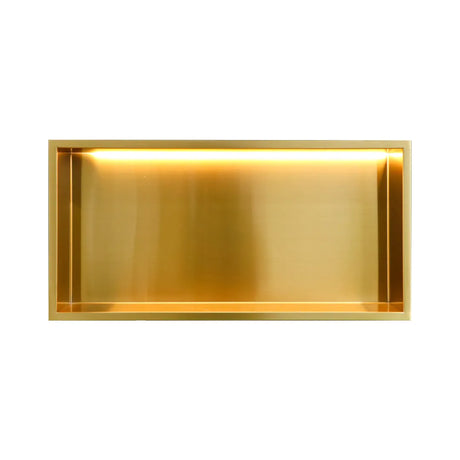
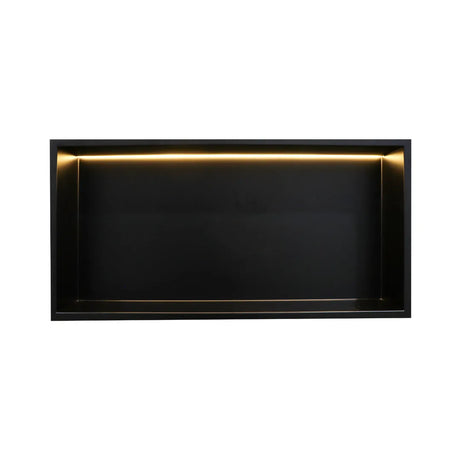
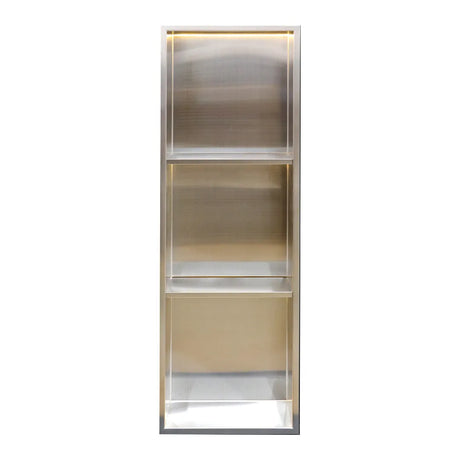
A stainless steel niche skips tiling the interior. It drops in as a finished metal box, which suits a modern shower and installs quickly.
Stainless Steel (Inox) Niches
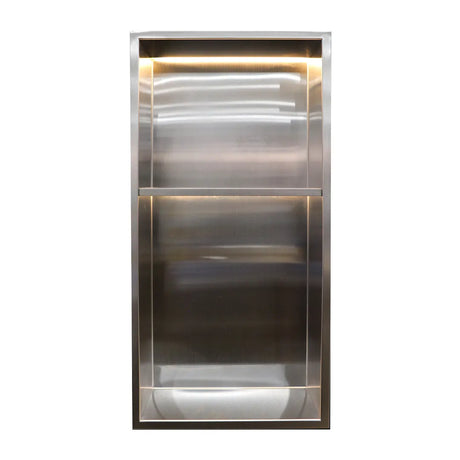
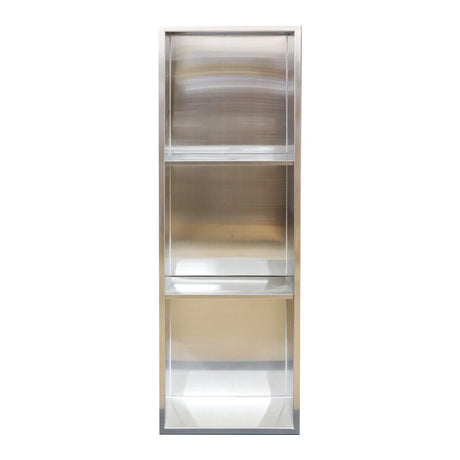
Stainless steel (inox) niches resist rust and wipe clean, and their thin flanges tuck under the surrounding tile. They come in single and double-shelf versions in fixed sizes.
Brushed vs. Polished Finishes
Brushed stainless hides water spots and fingerprints and pairs with matte fixtures. Polished stainless is brighter and shows more, so it suits a shower that gets cleaned often. Match the niche finish to your tap and drain.
Frameless & Colour-Matched Options
Frameless and colour-matched niches shrink the visible edge, either with a hidden flange or a finish that blends with the tile. They cost more and give the cleanest line.
Corner Shower Niches
A corner niche tucks the shelf into the join of two walls. That keeps the main walls clear and puts storage within easy reach in a compact shower.
When a Corner Niche Works Best
A corner niche earns its place in a narrow shower with no clear wall for a rectangular niche, or where you want the shelf near the corner you already stand next to. In a larger shower, a flat-wall niche usually looks more intentional.
Shower Niche Sizes & Dimensions
Size the niche to what it holds and to the wall it goes in. Most single niches run about 12 inches wide, with heights from 12 to 24 inches, and a full-width ledge can span two or more stud bays.
Standard Niche Sizes
Common ready-to-tile sizes cluster around 12 by 12, 12 by 20, and 12 by 24 inches, with double-shelf and full-width versions above that. Stainless niches come in similar fixed dimensions.
Single Niche Dimensions
A single niche around 12 by 14 inches holds a couple of bottles and a bar of soap, which covers most bathrooms. If one person's products already fill it, that is the size to beat.
Sizing for Bottles & Toiletries
Measure your tallest pump bottle before you settle on height. Fourteen to sixteen inches of interior height clears most shampoo and body-wash bottles standing up; anything shorter means laying them down.
Double & Full-Width Niches
A double niche adds a second shelf for a shared shower, and a full-width ledge runs the wall for a continuous shelf. Both need the framing planned so a stud does not land in the opening.
Shower Niche Depth
Depth is set by your wall. A standard interior wall framed with 2x4 studs gives about 3.5 inches of usable depth, which is enough for most bottles.
Optimal Depth for Standard Walls
In a 2x4 wall, use the full stud cavity, roughly 3.5 inches, so bottles sit inside the niche instead of poking past the tile. That depth clears standard toiletries without eating into the room behind the wall.
Fitting Between the Studs
Niches are sized to fit between studs spaced 16 inches on centre, which leaves a finished opening around 14 inches wide. Anything wider means cutting a stud and heading it off with blocking.
Shallow Niches for Tiled or Thin Walls
Where the wall is shallow, such as a thin partition or a wall you cannot open fully, a shallow niche around 2 inches deep still holds soap and a razor. Confirm the depth before ordering a preformed box.
Where to Place a Shower Niche
Put the niche where you actually reach, on a wall with room behind it. In practice that means an interior wall, at roughly chest to shoulder height, clear of the plumbing.
Niche Height & Reach
Set the niche between about 48 and 60 inches from the floor, above the mixing valve and below the showerhead, so it lands at a natural reach. If it is mainly for one person, place it at their shoulder height rather than a generic number.
Which Wall to Use
Choose an interior wall between two studs. Avoid exterior walls, where the niche cuts into insulation and can invite cold or condensation, and stay clear of the wall carrying the shower valve and pipes.
Avoiding the Plumbing Wall
Building into the plumbing wall means working around the valve, supply lines, and drain, which raises the chance of a leak and complicates the framing. Use the opposite or a side wall whenever you can.
Working Around the Studs
The studs set your options. A single niche fits the 14-inch gap between them with no structural change; a wider opening needs a stud cut and supported with horizontal blocking above and below.
Tiling & Finishing a Shower Niche
How you tile and trim the niche decides whether it looks built-in or bolted-on. Two choices drive it: the tile inside, and the treatment at the edges.
Tiling the Niche
Tile the back and shelves of a ready-to-tile niche after the walls, keeping the grout lines running with the field where you can. Slope the bottom shelf slightly so water drains toward the shower.
Matching vs. Contrasting Tile
Carrying the field tile into the niche makes it recede into the wall, which suits a clean, quiet look. Switching to a contrasting tile turns the niche into a feature. Both work; choose based on whether you want it to disappear or draw the eye.
Carrying the Field Tile Through
To make the niche recede, run the same tile inside and keep the grout lines aligned with the surrounding wall. Full-size field tile often needs cutting to fit the niche cleanly, so plan the layout before you set the walls.
Mosaic & Feature Tile
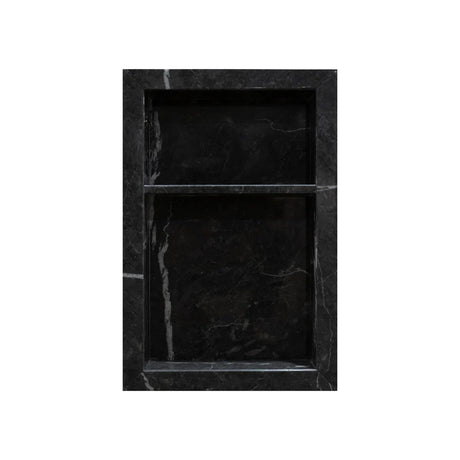
A mosaic or a marble accent inside the niche adds interest without retiling the shower. Sheet-mounted mosaic is the easiest way to line the small interior surfaces and turn the corners.
Niche Edge & Trim Options
The exposed edge of the opening needs a finish. The two common routes are a metal profile or a tiled edge.
Metal Tile Trim (Rondec-Style)
A metal trim profile, the Rondec-style edge, caps the tile edge with aluminum or PVC in a clean, durable line. It is the most forgiving option and comes in finishes to match your fixtures.
Tiled Mitred Edges
Mitring the tile at 45 degrees wraps the edge in tile with no metal showing, the cleanest of the edge options. It is fussier to cut and less forgiving of chips than a metal profile.
Bullnose vs. Mitred Corners
A bullnose, the rounded factory edge, gives a soft finished corner without mitring, if your tile is made in bullnose. A mitred corner is sharper and tile-continuous, but one bad cut shows.
Keeping the Grout Lines Aligned
Whichever edge you pick, line up the grout joints inside the niche with the field tile. Misaligned lines are the detail that makes a niche look added-on.
How Do You Waterproof a Shower Niche?
Waterproof the niche as part of the shower, not as an afterthought. Every corner and the flange get sealed to a continuous membrane, and the bottom shelf gets a slight slope.
Waterproofing Membrane
Tie the niche into the shower's waterproofing membrane so water cannot get behind the tile. Seal the flange and the inside corners with membrane or waterproof sealant over backer board, and lap the shower membrane onto the niche.
Sloping the Shelf for Drainage
Give the bottom shelf a slight downward slope toward the shower so water runs off instead of pooling. Water that sits in the grout shortens the life of the finish.
Why a Slight Slope Matters
A slope of about 1/8 inch over the depth of the shelf drains it without being visible. Preformed niches often build this pitch in; with a tiled shelf you set it in the mortar bed.
How to Install a Shower Niche
Installing a niche means making an opening, framing it, setting the box, then waterproofing and tiling. It is well within reach for a competent DIYer in new construction, and harder as a retrofit.
Cutting the Opening
Mark the opening between the studs and cut through the wall board. In a finished, tiled shower, that means scoring and removing tile first.
Tools You'll Need
For new backer board, a utility knife and a drywall saw handle the cut. Cutting into existing tile calls for an angle grinder with a diamond blade or an oscillating multi-tool, plus eye protection and a way to manage the dust.
Framing & Blocking
Frame the opening with horizontal blocking between the studs, top and bottom, to carry the niche and back the tile. If you cut a stud for a wider niche, header it so the wall stays sound.
Setting the Niche in Place
Set the niche in a bed of thinset mortar, push it level and flush with the backer board, and screw or tape the flange per the maker's instructions.
In New Construction
In new construction you install the niche before the backer board and membrane, then waterproof over the flange. This is the clean case, with full access to the framing.
Setting the Niche in the Framing
With the studs open, position the niche at your marked height, secure it to the blocking, and bring the backer board up to its edges before waterproofing.
In an Existing Tiled Shower
Retrofitting into a tiled shower is harder, because you cut through finished tile and then re-waterproof and re-tile the opening. It is doable, but budget for matching tile and a clean membrane tie-in.
Retrofit Considerations
Salvage a few spare tiles if you can, since matching an older tile is often the hardest part. Confirm there are no pipes or wires in the bay before you cut.
Can You Install a Niche in Any Shower Wall?
A recessed niche needs a tiled wall over studs, so it works in a ceramic or porcelain tile shower but not in an acrylic or fibreglass surround. If you have a one-piece surround, use a surface-mounted shelf or a caddy rather than cutting into it.
Shower Niche Ideas & Styles
A niche is a small canvas. A few directions worth considering:
Single Statement Niche
One well-placed niche in a contrasting mosaic or marble becomes a quiet focal point on an otherwise plain wall.
Full-Width Ledge Niche
A ledge running the width of the wall gives a continuous shelf and a strong horizontal line, which reads well in a shared shower.
Niche with Accent Lighting
A waterproof LED strip along the top of the niche lights the bottles and adds a soft glow at night. It needs a rated fixture and the wiring planned during the rough-in.
Shower Niche Cost & Value
Cost tracks the type and the tiling. A preformed ready-to-tile niche is inexpensive on its own, but you pay for the tile and the labour to set and waterproof it. A finished stainless niche costs more upfront and saves the interior tiling. Either way, a niche is a small line in a shower budget that pays back in daily use and in how finished the shower looks.
Why Buy Shower Niches at Besso
Besso carries both ready-to-tile and stainless steel niches, plus the tile and trim to finish them, so you can plan the niche and its surround together. Our design team offers complimentary design consulting to help you size and place it, and both showrooms, in Markham and Etobicoke, let you see the niche beside the tile before you commit. A third Besso showroom opens in Vaughan in June 2027. Contractors can source the niche, membrane, thinset, and trim in one order. Browse tiles to match the surround, and the subway tile shower guide for layout ideas.