Engineered Hardwood Flooring

Real Wood, Built to Perform

Canadian-owned, trusted across the GTA 🇨🇦

4.9
View All
Bright entryway with dark hardwood flooring, staircase, and blue velvet bench

What is Engineered Hardwood?

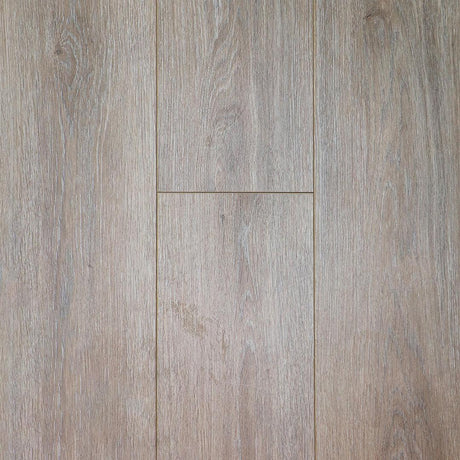
Engineered hardwood is a type of real wood flooring made with a top layer of genuine hardwood and a core of layered plywood or high-density fiberboard. This layered construction adds strength and stability while preserving the natural beauty of wood.

Unlike laminate or vinyl, which only mimic the appearance of wood, engineered hardwood uses a real wood surface—so you get the warmth, grain, and character of traditional hardwood flooring. The layers beneath are designed to reduce movement, making it less sensitive to moisture and temperature changes. That means it’s suitable for a wider range of rooms, including basements, kitchens, and areas with radiant heating.

Hardwood vs. Engineered Wood

Solid Hardwood Engineered Hardwood
Single plank construction Multi-layered construction
Can be refinished multiple times More dimensionally stable
Prone to expanding and warping Can be installed below grade
Less moisture tolerant Can still be refinished (1–2 times)

Benefits of Engineered Hardwood

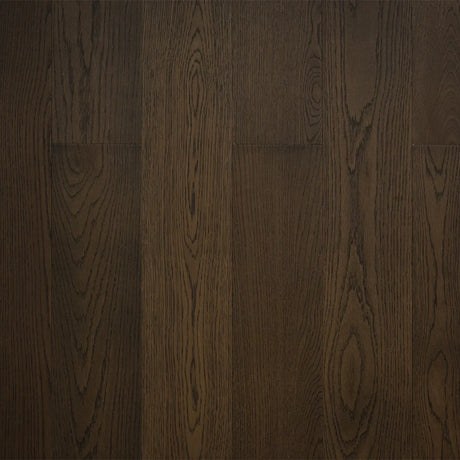
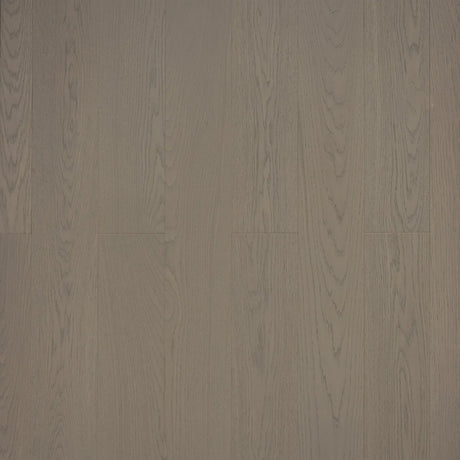
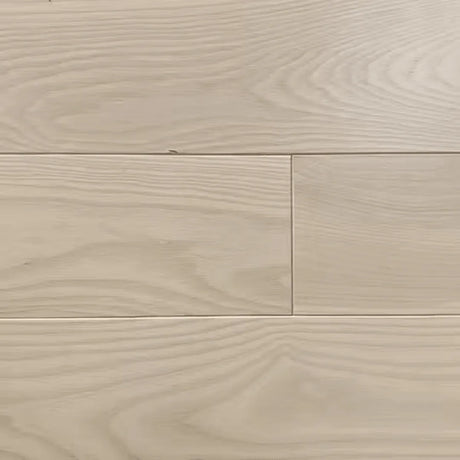
  • 🌳 Real Wood Surface: Unlike laminate, this is actual hardwood on top—not a printed image.
  • 🧱 Dimensional Stability: Resists warping, swelling, and shrinking.
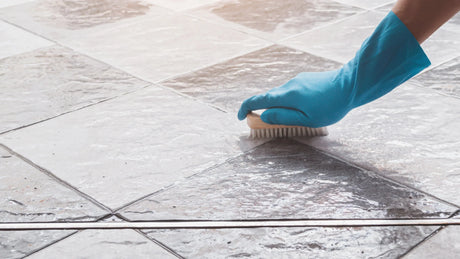
  • 💧 Moisture Resistance: Great for kitchens, basements, and condos.
  • 🔧 Flexible Installation: Works with floating, glue-down, or nail-down methods.
  • 🌍 Eco-Friendly: Uses less slow-growth hardwood, reducing waste.
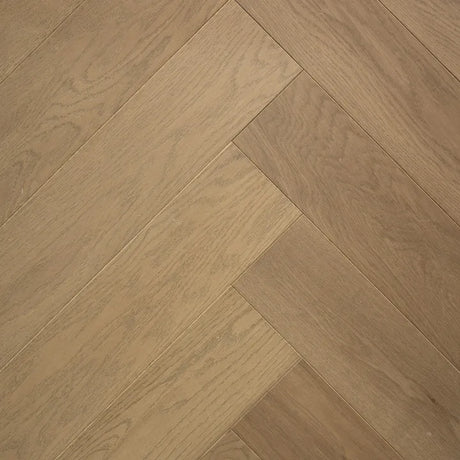
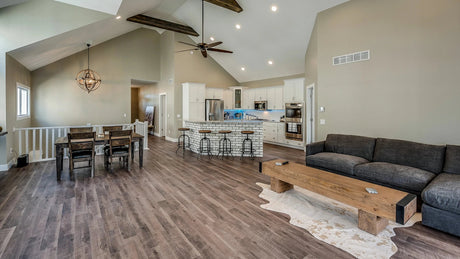
  • 🌟 Style Variety: Available in a wide range of colors and wood species.

Whether you're going for a sleek modern design or rustic charm, engineered hardwood gives you the look you want with the performance you need.

Installation

Engineered hardwood is known for being easier to install than solid hardwood—and in many cases, it’s DIY-friendly. There are three common installation methods:

1. Floating Installation

Click-lock flooring snaps together and floats over underlayment. Great for concrete or existing floors.

2. Glue-Down Installation

Adheres planks directly to subfloor with glue. More permanent and sound dampening; often best done by a pro.

3. Nail-Down Installation

Secured with nails or staples to plywood. Stable, traditional, but more labor-intensive.

Before installation:
  • Acclimate flooring 48–72 hours
  • Subfloor must be clean, level, and dry
  • Leave a 1/4" expansion gap along all walls

Frequently Asked Questions

How to install engineered hardwood flooring?

Installing engineered hardwood can be done in three main ways: floating, glue-down, or nail/staple-down, depending on the type of flooring and subfloor.

1. Prepare the space:

  • Remove baseboards and clear the room.

  • Check that the subfloor is clean, level, and dry.

  • Acclimate your flooring by leaving the boxes open in the installation room for at least 48–72 hours.

2. Choose your installation method:

  • Floating: Planks click together and float over an underlayment (great for DIYers).

  • Glue-down: Adhesive is spread directly onto the subfloor. Strong and durable, but more labor-intensive.

  • Nail-down: Used over wood subfloors. Provides a firm, secure hold.

3. Begin installation:

  • Start from a straight wall or longest wall in the room.

  • Use spacers to maintain a 1/4" expansion gap around edges.

  • Stagger plank ends at least 6 inches apart from row to row for stability and aesthetics.

4. Finish up:

  • Reinstall baseboards or quarter-round trim to cover expansion gaps.

  • Clean the floor and avoid heavy traffic for at least 24 hours if glued.

How to install engineered hardwood flooring on concrete?

Concrete requires extra attention to moisture and adhesion, but it’s a common subfloor for engineered hardwood. Two recommended installation methods are:

Option 1: Floating Floor (Click-Lock)

  • Place a high-quality moisture barrier over the concrete.

  • Lay down underlayment (sometimes combined with the moisture barrier).

  • Click the planks together, row by row.

  • Leave a 1/4" expansion gap around the edges.

Option 2: Glue-Down Method

  • Use a moisture-resistant adhesive approved by your flooring manufacturer.

  • Spread adhesive with a notched trowel in sections.

  • Lay each plank into the adhesive and press firmly.

  • Use spacers along the edges for expansion.

Important tips:

  • Test the moisture levels in the concrete using a calcium chloride or RH test.

  • Consider applying a concrete sealer or moisture barrier if readings are borderline.

How to lay engineered hardwood flooring?

Laying engineered hardwood properly means planning your layout, choosing a pattern, and installing with precision.

1. Plan your layout:

  • Measure the room to determine how wide the last row will be — avoid having a thin strip at the end.

  • Choose your laying direction—typically along the longest wall or toward natural light.

  • Mark a guideline using a chalk line to keep your rows straight.

2. Stagger plank ends:

  • Cut starting planks to different lengths so joints are staggered by at least 6".

  • This improves stability and mimics a natural hardwood appearance.

3. Install the flooring:

  • Use spacers to leave an expansion gap.

  • Lay each row snugly against the last, clicking or securing as needed.

  • Trim boards to fit around corners, vents, or door frames using a jigsaw or circular saw.

4. Double-check alignment:

  • Make sure rows stay straight as you move across the room.

  • Periodically check against your chalk line or guide.