Vinyl Flooring
Vinyl flooring is a waterproof, durable flooring option designed for high-traffic areas like kitchens, basements, and living rooms.
At Besso Floor & Decor, we carry a wide range of vinyl flooring options, including luxury vinyl plank flooring, luxury vinyl tile, and sheet vinyl. Each option is designed to balance performance and style, whether you want the look of natural hardwood, stone, or something more modern.
Because it's water-resistant, low-maintenance, and built for everyday use, vinyl flooring works well in almost any room of the home. It's a practical choice for homeowners who want long-term durability without sacrificing design.
What Is Vinyl Flooring?
Vinyl Flooring Construction: Wear Layer, Core & Backing
Vinyl flooring is built in layers that work together to create a strong, waterproof surface. Most vinyl flooring includes:
- Wear layer: A protective top layer that resists scratches, stains, and daily wear (measured in mil thickness)
- Design layer: A high-resolution image layer that replicates wood, stone, or tile
- Core layer: A rigid or flexible waterproof core (SPC, WPC, or standard vinyl)
- Backing layer: A base layer that adds stability and support
These layers make vinyl flooring a durable and low-maintenance option for busy households.
Vinyl vs. Laminate Flooring: What's the Difference?
Vinyl flooring and laminate flooring may look similar, but they perform differently.
Vinyl flooring is 100% waterproof, making it ideal for bathrooms, kitchens, and basements. Laminate flooring is typically water-resistant but not fully waterproof. Vinyl also tends to be softer underfoot, while laminate has a more rigid feel.
If moisture is a concern, vinyl flooring is usually the better choice.
You can explore laminate options here: laminate flooring.
Vinyl vs. Hardwood Flooring: Which Should You Choose?
Vinyl flooring and hardwood flooring each have their place.
Vinyl flooring is more affordable, waterproof, and easier to clean and maintain. Hardwood offers a natural material that can be refinished over time.
For many homes, vinyl flooring offers the best balance of durability, cost, and everyday practicality.
Types of Vinyl Flooring
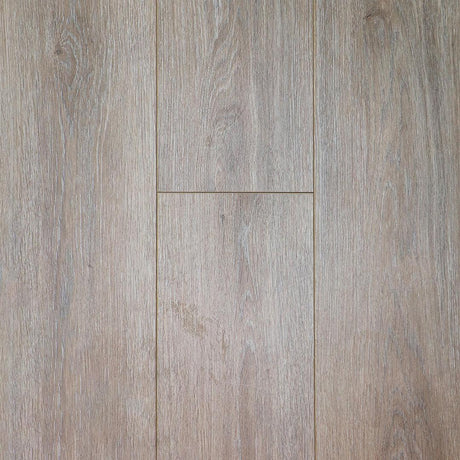
Luxury Vinyl Plank Flooring
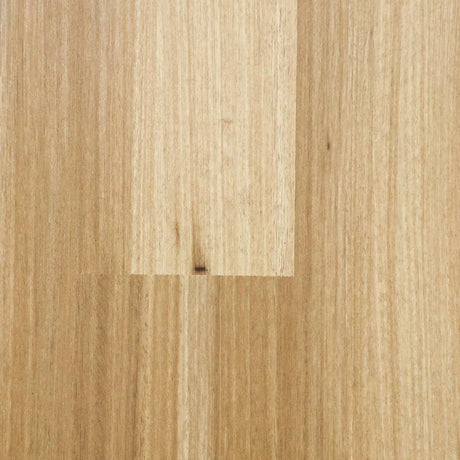
Luxury vinyl plank flooring is designed to replicate the look of real hardwood. It comes in plank form and is one of the most popular types of vinyl flooring for homes today.
It's commonly installed using a simple click-lock system and works well in living rooms, kitchens, and basements. Many homeowners also refer to this as luxury vinyl plank flooring or LVP flooring.
SPC Vinyl Plank Flooring
Stone plastic composite (SPC) vinyl flooring features a rigid core that offers excellent durability and stability, making it ideal for high-traffic areas.
WPC Vinyl Plank Flooring
Wood plastic composite (WPC) vinyl flooring provides a slightly softer feel underfoot, along with added comfort and sound absorption.
Luxury Vinyl Tile
Luxury vinyl tile is designed to mimic the look of stone or ceramic tile. It's a great option for bathrooms, entryways, and kitchens where a tile look is desired without the cold surface that tends to come with tile.
Sheet Vinyl Flooring
Sheet vinyl flooring comes in large rolls, creating an almost seamless surface that helps prevent water from seeping through.
Currently, at bessofloor.com we only offer plank Vinyl as we feel that this is the better value product.
Waterproof Vinyl Flooring
Vinyl flooring is known for its waterproof performance, making it one of the best choices for moisture-prone areas in your home. From bathrooms to basements, waterproof vinyl flooring helps protect against spills, humidity, and everyday messes.
Is Vinyl Flooring Waterproof?
Yes, most vinyl flooring is fully waterproof and designed for moisture-prone areas.
Vinyl is made from synthetic materials that do not absorb water, which prevents swelling, warping, or structural damage. This makes it suitable for bathrooms, kitchens, and basements where spills or humidity are common. However, proper installation is still important because water can still enter through seams or edges if the flooring is not installed correctly.
Best Waterproof Vinyl Flooring for Bathrooms & Kitchens
For bathrooms and kitchens, luxury vinyl plank flooring and luxury vinyl tile with a thicker wear layer are great options. They provide durability, water protection, and a comfortable feel underfoot.
Which Vinyl Flooring Is Best for You?
Choosing the right vinyl flooring depends on your space, lifestyle, and budget. Different types of vinyl flooring are better suited to different rooms.
Luxury Vinyl Plank Flooring vs. Luxury Vinyl Tile: Which Vinyl Flooring Is Right for Your Room?
Luxury vinyl plank flooring works best in living areas and bedrooms where a wood-look finish is preferred. Luxury vinyl tile is ideal for bathrooms and entryways where a tile appearance makes more sense.
What Wear Layer Thickness Do I Need?
A thicker wear layer (12 mil to 20 mil) is better for high-traffic areas, while 6 mil works well in lower-traffic spaces.
Is Vinyl Flooring Good for Basements?
Yes, vinyl flooring is one of the best options for basements due to its waterproof construction and resistance to humidity.
Vinyl Flooring Installation and Maintenance
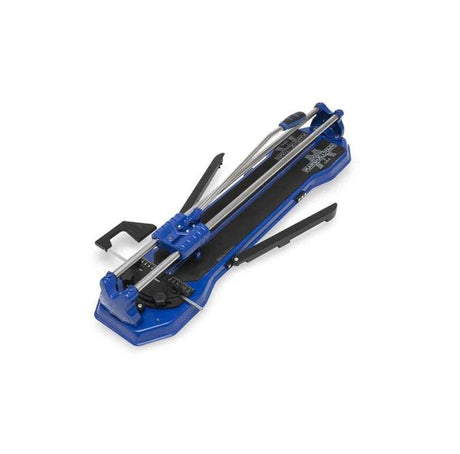
How to Install Vinyl Plank Flooring
Vinyl plank flooring is typically installed using a click-lock system that allows planks to snap together without glue or nails. This makes it one of the most accessible flooring options for DIY installation in residential spaces.
Click-lock systems are designed to create a tight seam between planks, which helps lock out moisture and create a stable floating floor. When installed correctly, the result is a durable surface that performs well in everyday conditions.
Installation still requires proper preparation. The subfloor must be clean, level, and dry before starting, as uneven surfaces can cause movement, noise, or separation over time. Most manufacturers also recommend allowing the flooring to acclimate in the room for 24–48 hours before installation.
DIY vs Professional Vinyl Flooring Installation
DIY installation works well for simple rooms with open layouts, especially when using click-lock vinyl flooring. Many homeowners choose this option to reduce installation costs and complete smaller projects at their own pace.
Professional installation is recommended for larger spaces, complex layouts, or areas with stairs, multiple transitions, or uneven subfloors. Installers can also help ensure correct expansion gaps, alignment, and long-term stability.
The main difference comes down to precision and time. DIY can be cost-effective, while professional installation reduces the risk of errors that may affect performance over time.
Subfloor Preparation for Vinyl Flooring
A clean, level, and dry subfloor is essential for a successful vinyl flooring installation.
Vinyl flooring is a thin, rigid or semi-rigid surface, which means imperfections in the subfloor can eventually show through the finished floor. High spots, debris, or moisture issues can lead to uneven planks, movement, or long-term damage.
In most cases, subfloors should be swept, vacuumed, and checked for level before installation. Concrete subfloors may also require moisture testing or a vapour barrier depending on conditions. Taking time to prepare the base helps ensure a smoother installation and longer-lasting performance.
Installing Vinyl Flooring Over Concrete
Vinyl flooring can be installed over concrete subfloors when the surface is properly prepared and moisture is controlled.
Concrete is common in basements and lower levels, but it can hold moisture or have minor imperfections. A suitable underlayment or vapour barrier is often used to reduce moisture risk and improve comfort underfoot.
Before installation, the concrete should be level, clean, and fully cured. Any cracks or uneven areas should be repaired to prevent movement or visible inconsistencies in the finished floor.
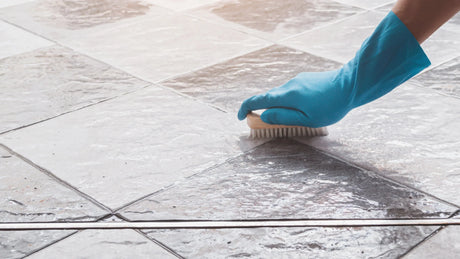
How to Clean and Maintain Vinyl Floors
Vinyl flooring is easy to maintain with regular sweeping and occasional damp mopping.
How Long Does Vinyl Flooring Last?
Vinyl flooring typically lasts 10 to 25 years depending on quality, wear layer thickness, and usage.
The wear layer is the main factor that determines lifespan because it protects the surface from scratches, dents, and daily wear. Thicker wear layers generally extend durability, especially in high-traffic homes.
Household conditions also matter — homes with pets, heavy foot traffic, or large furniture may experience faster wear. Regular cleaning and furniture protection can significantly extend the lifespan of the flooring.
Cost of Vinyl Flooring
Vinyl flooring is a cost-effective alternative to hardwood while still offering a high-end look.
How Much Does Vinyl Flooring Cost in Canada?
Vinyl flooring in Canada typically ranges from $3 to $7 per square foot, depending on the type, wear layer, and design.
Vinyl flooring offers exceptional versatility, with options ranging from waterproof luxury vinyl planks to durable sheet vinyl — perfect for any room in your home.
At Besso Floor & Decor, we're here to help you find the right fit. Whether you're after the look of hardwood, stone, or something uniquely your own, our team can walk you through the options.