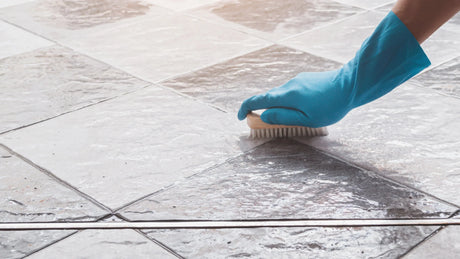
How to Clean Floor Tile Grout
Cleaning floor tile grout is essential to maintaining a fresh, polished look in your home. Over time, grout can become stained, discolored, or even blackened due to dirt, mildew, and...
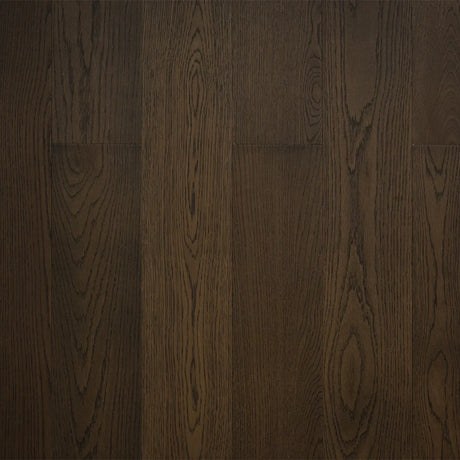


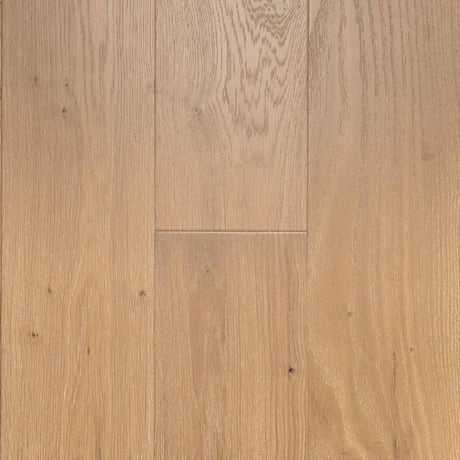
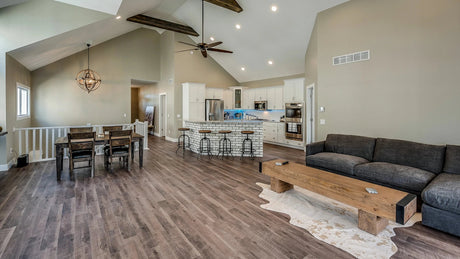
Engineered hardwood is a type of real wood flooring made with a top layer of genuine hardwood and a core of layered plywood or high-density fiberboard. This layered construction adds strength and stability while preserving the natural beauty of wood.
Unlike laminate or vinyl, which only mimic the appearance of wood, engineered hardwood uses a real wood surface—so you get the warmth, grain, and character of traditional hardwood flooring. The layers beneath are designed to reduce movement, making it less sensitive to moisture and temperature changes. That means it’s suitable for a wider range of rooms, including basements, kitchens, and areas with radiant heating.
At a glance, solid hardwood and engineered hardwood look identical, but they perform very differently.
Solid hardwood is a single plank of wood, which makes it durable and refinishable multiple times. However, it's highly sensitive to moisture and temperature changes, making it prone to expanding, contracting, and even warping.
Engineered hardwood, on the other hand, is made with multiple layers of wood arranged in different directions. This structure gives it dimensional stability—a term that means the flooring resists changes in shape, size, and integrity when exposed to humidity or temperature shifts. In practical terms, it’s much less likely to cup, buckle, or swell over time.
Because of this stability, engineered hardwood is more versatile. It can be installed over concrete, below grade (in basements), or over radiant heat. While it may not be refinished as often as solid wood, many engineered products can still handle at least one or two sanding sessions during their lifetime.
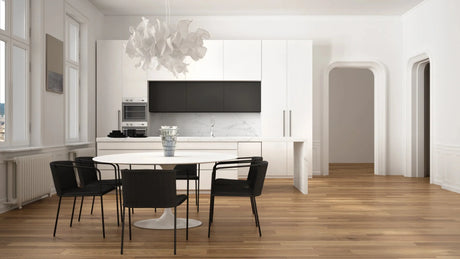
Whether you're going for a sleek modern design or rustic charm, engineered hardwood gives you the look you want with the performance you need.
Engineered hardwood is known for being easier to install than solid hardwood—and in many cases, it’s DIY-friendly. There are three common installation methods: floating, glue-down, and nail-down.
Click-lock engineered flooring simply snaps together and floats over an underlayment. No glue or nails are needed, and it’s ideal for installing over concrete or existing flooring.
This method involves adhering the planks directly to the subfloor using a special flooring adhesive. It’s more permanent and provides solid sound dampening but may require professional help—especially over concrete.
Best suited for plywood subfloors, this traditional method secures the planks with nails or staples. It’s very stable but takes more labor and the right tools.
Before installation:
- Acclimate the flooring for at least 48–72 hours.
- Make sure your subfloor is clean, level, and dry.
- Always leave a 1/4" expansion gap along the walls to allow for natural movement.
Each installation method has its advantages, and the best one for your project depends on your subfloor, room type, and experience level. No matter which route you choose, engineered hardwood can deliver long-lasting beauty and performance.
Installing engineered hardwood can be done in three main ways: floating, glue-down, or nail/staple-down, depending on the type of flooring and subfloor.
1. Prepare the space:
2. Choose your installation method:
3. Begin installation:
4. Finish up:
Concrete requires extra attention to moisture and adhesion, but it’s a common subfloor for engineered hardwood. Two recommended installation methods are:
Option 1: Floating Floor (Click-Lock)
Option 2: Glue-Down Method
Important tips:
Laying engineered hardwood properly means planning your layout, choosing a pattern, and installing with precision.
1. Plan your layout:
2. Stagger plank ends:
3. Install the flooring:
4. Double-check alignment:
Click-lock engineered hardwood is the most DIY-friendly style of flooring.
Here’s how to install it:
Pro tip: For long rooms or open spaces, consider adding a T-molding or expansion joint every 30 feet to prevent buckling.
Cleaning floor tile grout is essential to maintaining a fresh, polished look in your home. Over time, grout can become stained, discolored, or even blackened due to dirt, mildew, and...
Vinyl plank flooring has become a popular choice for homeowners seeking a durable, cost-effective, and aesthetically pleasing flooring solution. Its ease of installation makes it an excellent option for DIY...

Laminate flooring is a popular and cost-effective option for homeowners looking to enhance their space with a durable and stylish finish. Its ease of installation makes it a great choice...
After reading BessoFloor's detailed comparison of laminate and vinyl flooring, I felt confident choosing the best option for my home renovation. Their insights on durability, installation, and maintenance were invaluable...
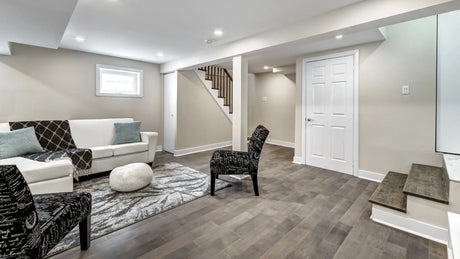
Basements present unique challenges when it comes to flooring choices. With concerns such as moisture, temperature fluctuations, and durability, selecting the right flooring is essential for a long-lasting and comfortable...

Confused about tile options? Discover the pros and cons of ceramic, porcelain, natural stone, glass, and cement tiles. Find your perfect match at Besso Floor & Decor!

Elevate your home with timeless flooring options at Besso Floor & Decor. Whether you prefer the warm, natural tones of Richmond Gold Oak, the refined elegance of Monet Nature Engineered...

Choosing the right tiles can transform any room in your home. Discover three essential tips to help you select the perfect tiles, from considering the space and texture to matching...